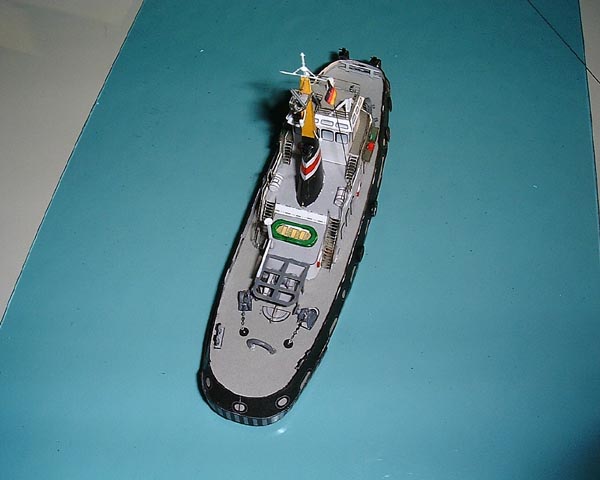
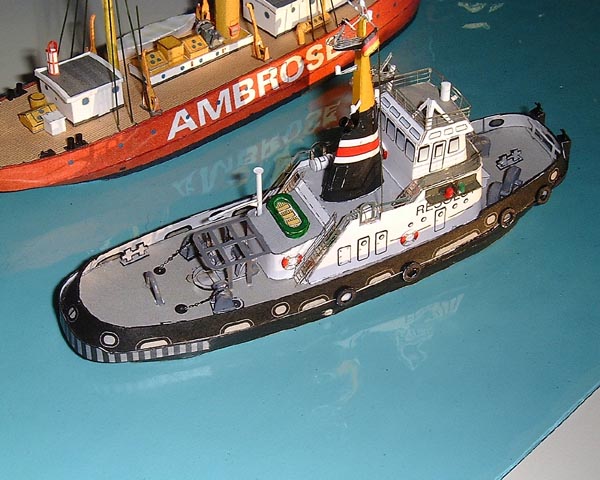
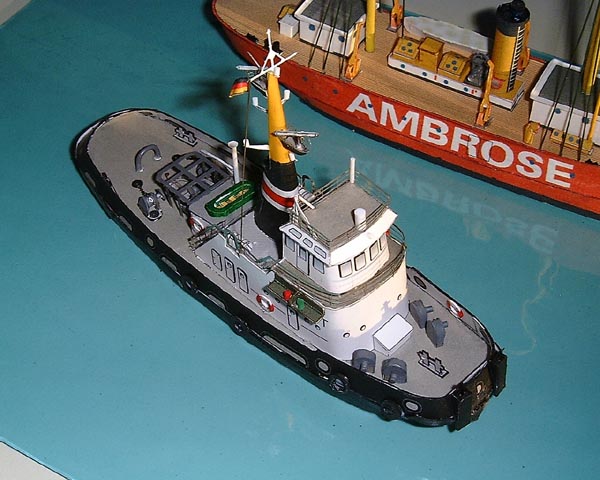
The Tugs Saturn and Resolut
By Scheuer & Str�ver
GmbH
What can be said
about the quality of the HMV kits in general; they are printed on high quality
paper, drawn to be more detailed and many have photo-etched super detailed
parts available for them; finally they also assemble very well.� With this said, lets review the Tugs Saturn
and Resolut, there are two models in this kit, each one with the ability to
make one of two different tugs.� The
Orange hull makes either the Saturn or Mercur, while Resolut and Rasant can be
assembled using the Black hull.�� Armed
with the super detail kit for these models part number 6133423, I chose to
build the Resolut with her black hull.
Cutting the groundplate and formers follows most ships models and there is nothing special to take note of here.� The one lacking aid that could help in this type of graphic illustration assembly would be some hint as if certain parts need to be assembled before or after.� For example: The hull sides which are numbered 19, 19a and 19b consist of two parts that form the upper part of the hull.� It is not clear if they should be glued to each other first, before attaching to the deck or if the hull should be glued first and the upper parts attached later.� I assembled my model by doing the hull side and then attaching the upper parts, this presented no problem.� I suspect it might be just as easily done the other way, but somehow I have a slight feeling of misgiving about committing myself.�
The bow presents another place where again a note on how it fits would be of great help.� I attached the hull and the upper parts that are now suppose to mate with the front bow piece part 20.� I made the mistake of assuming the bow sides should wrap around and be on top of the bow plate. WRONG!� In fact the bow plate fits on top of the hull sides.� The graphical assembly illustration does not make this clear and trying to test fit this part is not an easy chore.� Having said this; let me add that it was a pleasure to build the rest of the model. Each part fit like a little jewel in a watch.
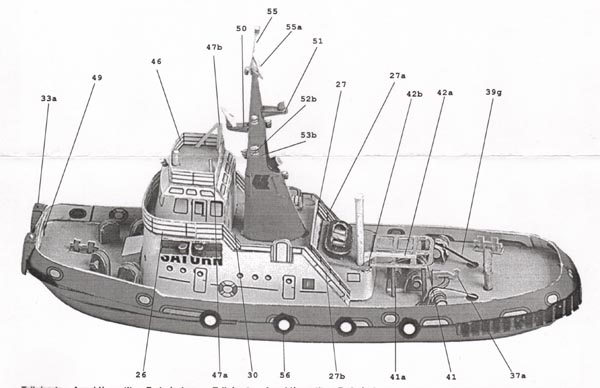
I opted to use the super detailed set and met with a few minor problems that I am sure were a result of me not having enough experience working with photo etch parts.� I wish one change could be made in the photo etch set that I am sure may be done if future printings are needed.� This would be 41 and 41a.� It is sort of a grating that fits over the larger winch in the stern amidships.� It has four legs that are number 41a (x4).� Instead of this assembly being one piece like a table whose legs have been laid flat, it is four separate legs which must be glue to the top (41) and then placed on deck and glued.� I am assuming it was done this way because the original card part was drawn that way.
�We are always learning new techniques and ways to improve our models and our skills, and I found something that I wonder how I lived so long without.� I mentioned it in one of the CardModelers messages some while back so I�ll not go again into detail suffice to say that it applies a sticky adhesive to the back of any material feed into it.� �
Using this method, several parts which requires both sides to folded over and a strip wrapped around the outside edge to represent a thick part can now be easily done by using the adhesive and mounting it on to a thicker piece of card stock and cutting out only one side.� The other side is usually hidden by something else.� The large winch is a good example of what I am saying.� Each end piece of the winch consist of a piece that is to be cut out folded and an out side edge wrapped around to form it into an object.� In this case the end of the winch housing.� By using a thicker piece of card stock having mounted the outside face now becomes easily cut out and a matching color applied to the edge and inside. No unsightly white edge to cover up or bad fits to hide.�
In all, this little tugs takes probably about nine hours to assemble and five hours to do a real good job of adding the super detail parts.� �For such a small model, it sure looks busy� my wife said to me when I showed her the model. It indeed looks busy and small mistakes are easily hidden in the overall subject.� If you have just finished a real beast to build, take a pleasant break and have a little fun building one of these tugs.� I hope HMV will do more models along this line.� We don�t always need warships or ocean liners.� Small simple models can be attractive and enhance the beauty and the work done on larger models.
I feel sure Scheuer & Str�ver will not object to my inclusion of the graphic showing where the detail parts go. �This illustration accompanies the detail set and gives a good idea of the amount of detail parts that can be added.