Photos by the author
This Erkotyp kit was first reviewed by Saul in his �First Views� column in December 2002. Later in May 2003, Ricardo Leite wrote an excellent photo review with some great photographs. In fact, I liked his pictures so much that I now have one of them as my wallpaper! Joseph Spinelli of Spishop in the Czech Republic sent the original kit to Saul. About the time of Saul�s first view I was in the middle of Castle Rozmberk, another kit from the Erkotyp stable. Rozmberk had over 400 pieces and I was not sure that a kit which was at least three times the size would be a good idea! Inevitably I did ask Saul to send me the new model. Ricardo�s review will give you the background to the kit and as you will see as we go along, this is a giant undertaking.
The general opinion is that this is a difficult model to make. In an odd way I would disagree with this view, complicated YES, but difficult no. As this review progresses over the next few months (years?), I hope you will see what I mean. A good example is the front wall, which will appear later. There are about 45 pieces that make up one wall, but the instructions (or rather the drawings) show the builder which parts are needed. After all, the castle is just a series of walls joined together, so, as you will see I completed each wall and then joined them together.
There are only a few techniques to master, such as the windows and archways and once you can do this it�s just the sheer number of parts that make this kit daunting.
Right, now that I�ve convinced you that this is an easy kit, let�s get started:
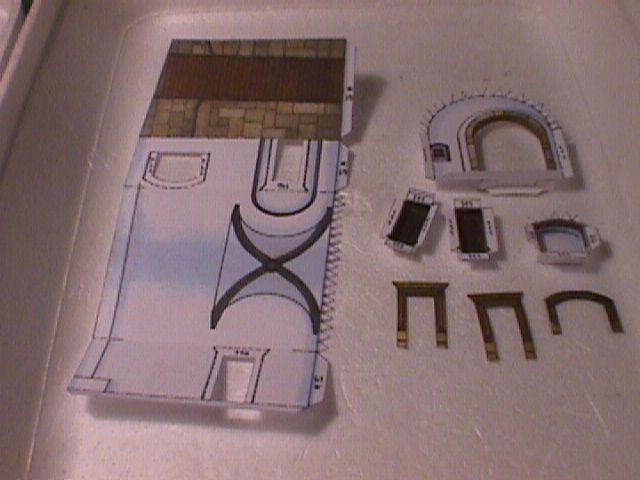
Let's begin with the inner yard - Pictures 1 and 2.
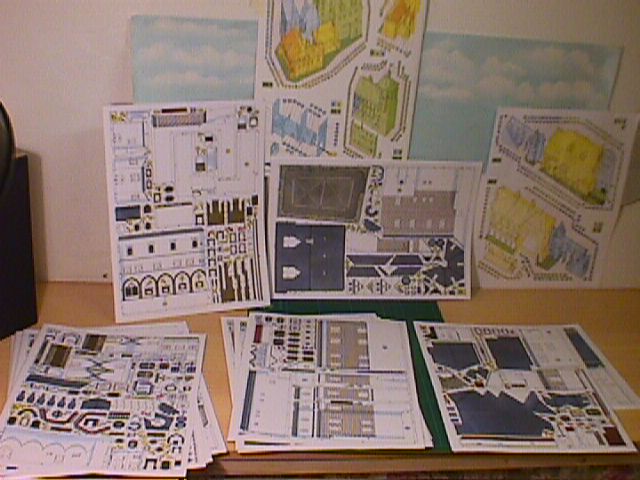
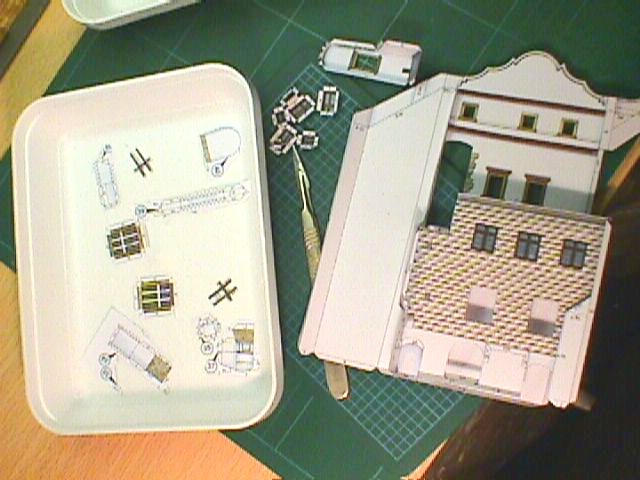
1. The kit comes in about 20 pages of which about 5 pages are drawings. The written instructions are in Czech and German. Not much good to a Brit who only just understands English! You will see from the drawings that the castle is split into 6 sections and each section is identified by a different colour. Generally the pieces for a section are on a few pages, however some pages have parts for more than one section. I keep a few trays for each section. Parts are numbered but the build is not in numerical order - more on this as we go along.
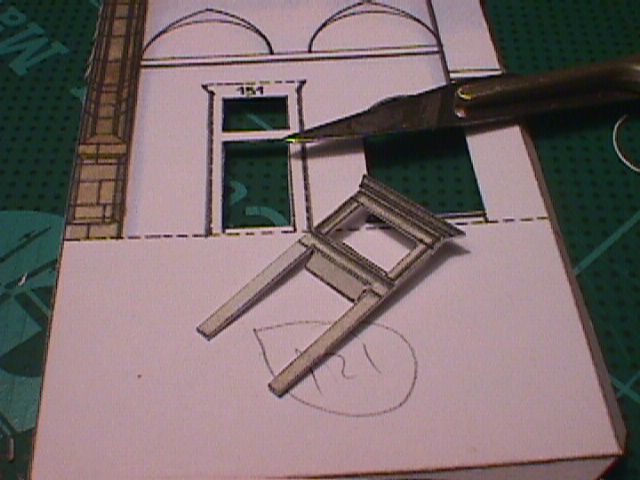
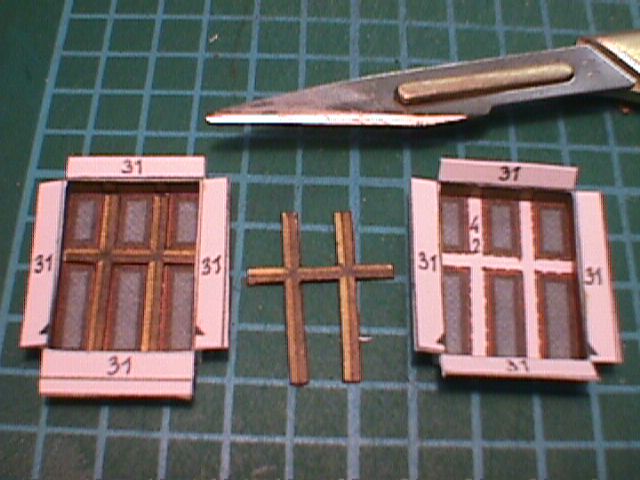
2. Here we have the second wall (part 2) and as you can see, the window frame is part 151 - this occurs with the windows as well but it�s not a problem because the walls have all the part numbers printed on them. Where a part number is followed by �%� this means the part is glued from behind. Note the detail on the frame - the small tabs form the �shelf� of the cross bar because the window is recessed.
3. This is the before and after view of the window. Valley folds and hill folds are used to produce the recess.
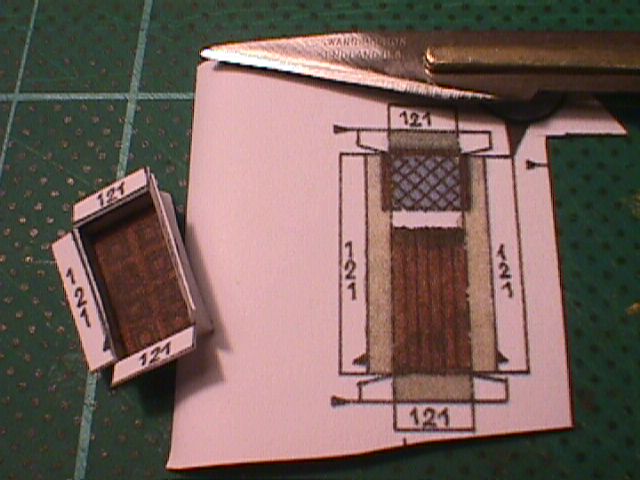
4. This part of the building has a tunnel running from the main gate to the interior courtyard. The detail is amazing; there are doors, windows and staircases inside! Unfortunately they are almost impossible to see when installed in the building. So take note, because this will be the last time anyone will see these bits!
5. Another section of the tunnel. The large piece is bent round to form the sides and roof.
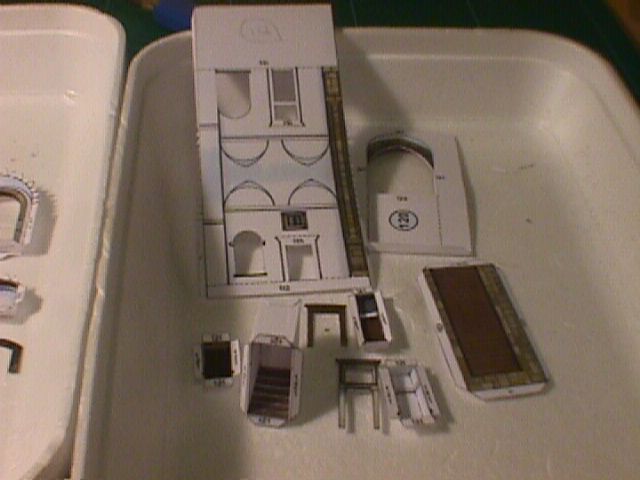
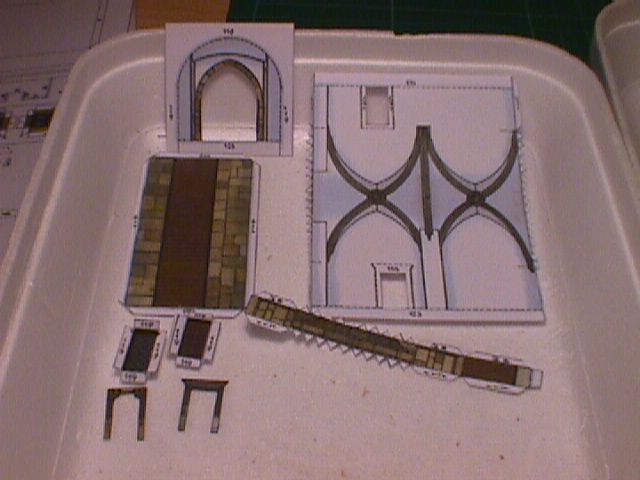
6. Yet more tunnels. Sorry if there is so much of this but as I said earlier, none of this will be appreciated when it�s built into the walls.

7. Here is the completed tunnel. As you can see from here, there is loads of detail.
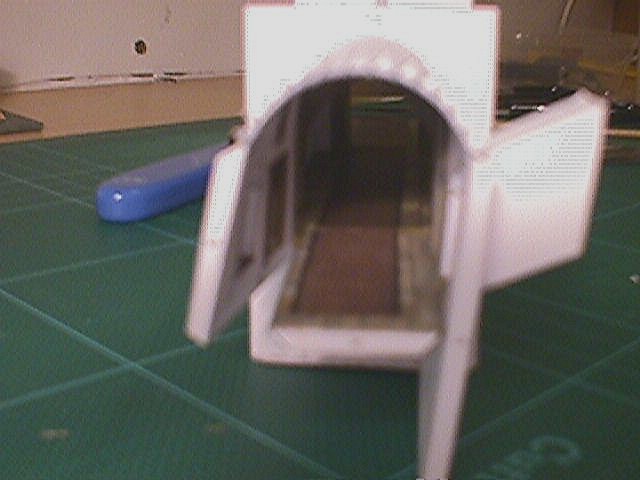
8. Sorry for the focus in this picture. You may be able to see that the floor has not been glued to the wall. This is deliberate because I found with Rozmberk that when the tunnel is attached to the walls the tunnel becomes rigid and it�s impossible to straighten the walls. By leaving the wall unglued I hoped to get round this problem. Did it work? You will have to wait for a later installment to find out!
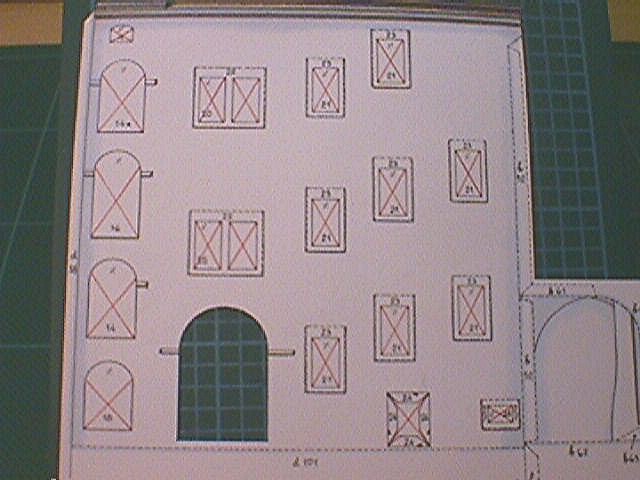
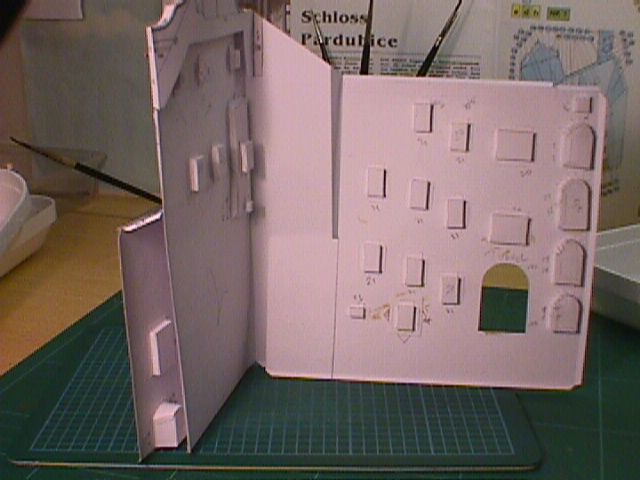
9. This is the left side of the entrance wall. It looks quite daunting, but if the construction is made step by step it�s not so bad. I cut out the areas shown with a red �X� and write the appropriate part number on the reverse. I attach all the window frames and any other embellishments on the outside first, then add the widows and recessed arches from behind.
10. Yet another wall, only this time there is a smaller wall to attach to the inner wall. As I mentioned above it is still just a matter of adding the bits to the front- including the small wall � then adding the windows from behind. By the way, the �H�-shaped pieces are frames, which fit inside the recessed windows. Just another example of the detail that will hardly be noticed on the completed Castle.
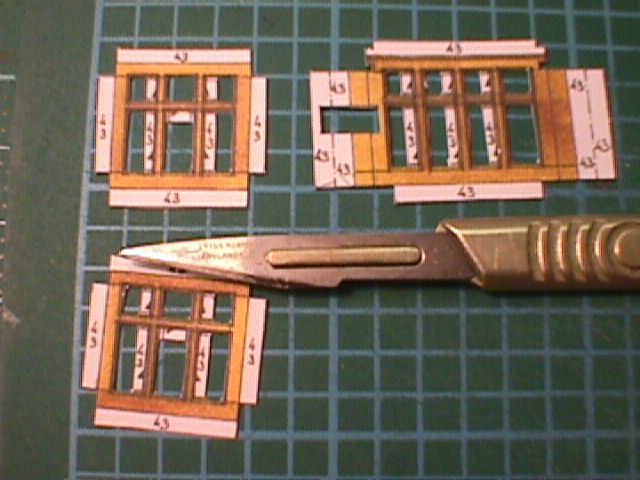
11. This gives you a close-up of this; hopefully the #11 blade will give you an idea of the size.
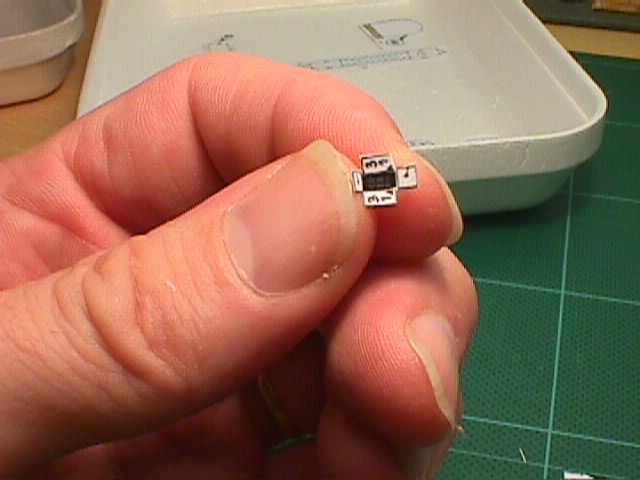
12. My wife saw this picture and said, �Ooh daddy, what big fingers you have� - my reaction was �my, what small windows you have�!
13. Another rear view. The wall on the left has a double thickness area at the top; I will go into more detail on this on the next roof, which should be in part 2.
14. As a final shot for this review, this shows a few more window frames. The white pieces are folded back and glued behind the frame to give definition to the windows. As the saying goes. �The devil is in the detail� and there is detail in abundance in this kit!
So far we have covered two walls of the first section, and there are more than four walls per section so there is a long way to go. The next part will have a mild diversion which could entail �audience participation�, so until next time���
