
Photos by the author
Superlatives come thick and fast when describing the Quality of an Arsenal
kit. I had made the Tornado previously and was looking forward to making another
Halinski kit someday. 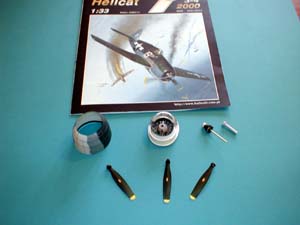
The construction Follows numbered stages and naturally enough starts with
part 1 the engine. This is a Pratt and Whitney R2800 and the model's representation
is very well detailed. This figure shows the layout of all the engine parts
and the props.
The next stage consists of the Construction of the Cowl and its fitting
around the Completed engine. Not much can be seen of your hard work on the engine
etc when the cowl is fixed. Maybe next time I will leave a transparent area
to show off the innards! 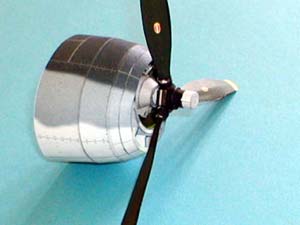
Following on from the engine the prop blades are made and I chose to use
Aluminum tubing and plastic rod to ensure that I had a revolving assembly when
finished. This figure shows the complete assembly.
The wings come next and the wheel wells are constructed and set into the wing roots, followed by the main wing ribs.
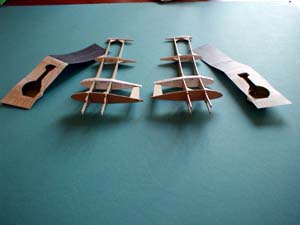
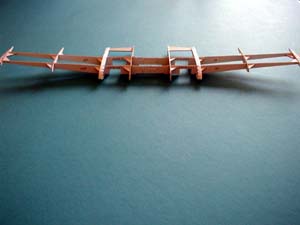
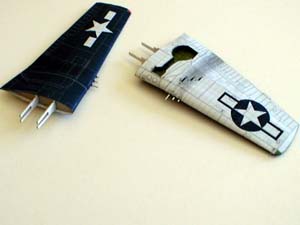
Make sure of the overlap before gluing the skin of the wings on. Several
test fits are advised before actually gluing these onto the ribs. The fit is
exceptional. I used 1mm aluminum tubing for the 6 Colt Browning machine-guns.
The gun barrels are stepped just as the photo shows.
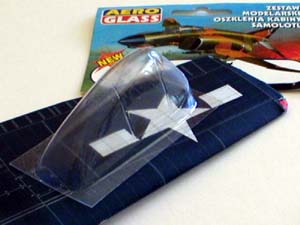
Undercarriage and wheels are next, and the choice of the model to make came from the fact that I bought some Gomix wheels and pre-formed cockpit glazing for the Hellcat From Saul so the choice was simple.
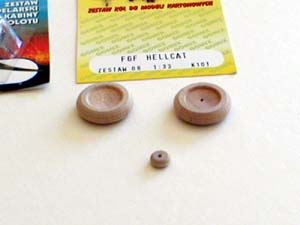
The wheels require little attention apart from a very light sanding. I used Humbrol 85 (coal black) for the walls of the tires and Humbrol 33(matt black) for the tread area to give that "scuffed look". The paper disks from the kit that would be used for the wheels, had they been constructed from paper, are cut out and glued on the finished Gomix tires. And very good they look, too. Each main undercarriage assembly is a gem in itself. By rolling paper and the use of formed wire, two very realistic main landing wheels can be made. Below are shown the wheels set onto the undercarriage struts.
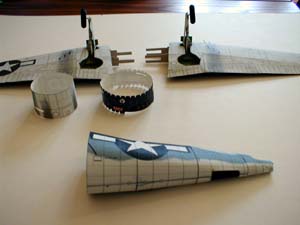
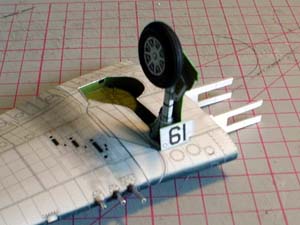
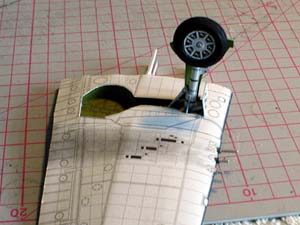
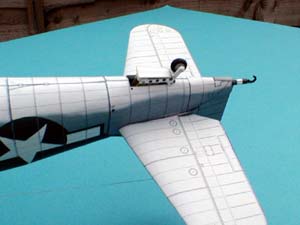
The tail-wheel is also supplied and this is painted in the same way and supported by a minute axle as outlined on the page containing the full size formers for all the wire to be bent. And also, very usefully, the size of wire to be used. I must say I was surprised by the strength in the tail wheel area and its flimsy appearance belies its tough feel. The arrestor hook and rear fuselage came next and then onto the area I had been waiting patiently to make since I started the build. Yes the construction of the fully detailed Cockpit interior
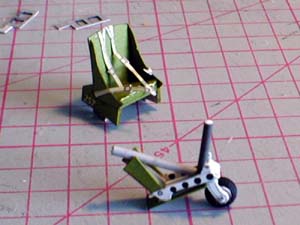
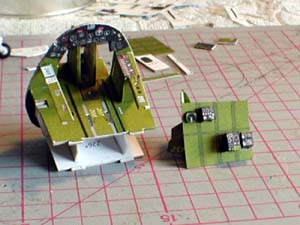
The build of the cockpit area took over a week and the progress of necessity
is slow. It requires an amount of time just to sit and look at the drawings
and decide which bulkhead receives which instrument panels. (I did a count and
astoundingly there are over 130 bits in the cockpit construction alone.)
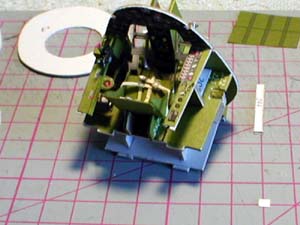
Following the numerical sequence the cockpit builds into a beautiful representation
of the Hellcat office. Built into the bulkheads and under the cockpit floor
are the slots that will eventually receive the tabs of the wing roots.
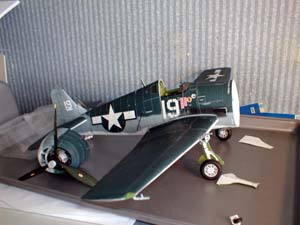
Very gently and with much trepidation the whole assembly is slid into the
finished rear of the fuselage, and at this point I wonder how on earth Mr Halinski
manages to make all of it fit. Astounding is a word that springs to mind to
describe the fit. Fig 14 shows the nose ready for fitting. Again a transparent
body section would show off the fully detailed Cockpit area�perhaps when, and
if I make it again I might do just that (Watch this space!!!)
The cowling assembly with props is then slid on and test fitted. It's then that I noticed that there is a problem with the painting of the exhaust trail over the sections of the body.(Parts 6 and 7)
The panel is colored on the underside with an oily exhaust smear, both on the port and Starboard sides. There is a break on the Starboard side smear and the smear continues on another panel to the right of the original line of the smear.
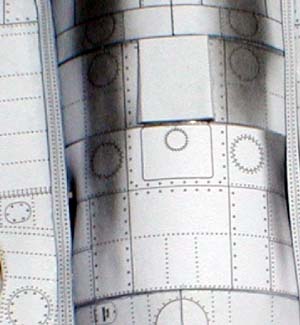

I hope the photos show this. A way of rectifying this is to scan in the two offending body sections. (I've told you now so that you can scan before the build!) Print them both on lightweight paper (say 80 grm.) then simply cover over the wrongly placed smear with a blank panel section, then paste a smeared panel over a bare section. The two photos hopefully clear up the placing of the two extra scanned panels. So remember this if you decide to make the Hellcat. "Editor's note: A corrected part for this error was issued on Bell P-39N Airacobra, issue date 2/2003 from the same company. It's located on bottom right corner of the back cover."
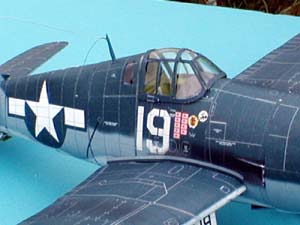
Finally, that Gomix cockpit transparency. I decided to use the supplied
frames although I did have some paint of the correct color. The frames were
cut out and glued into shape. Test fitted over the glazing, and with a little
trimming fitted like a glove. The whole assembly was then glued onto the aircraft
to complete the assembly.
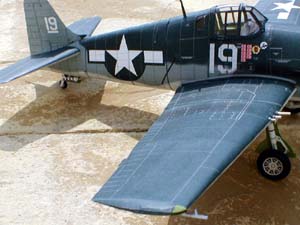
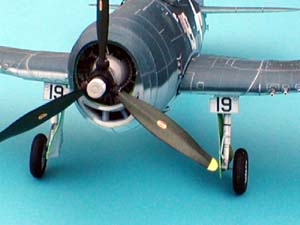
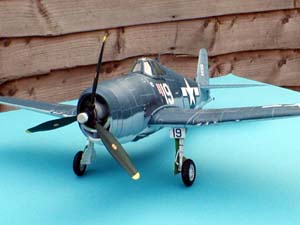
So here it is, shown in all her Glory. Not a model to be taken lightly or for beginners, but one when finished can be the center of attraction at any model show. Apart from the wrong panel being painted I can give the Arsenal Hellcat a unreserved 9 � Out of 10.
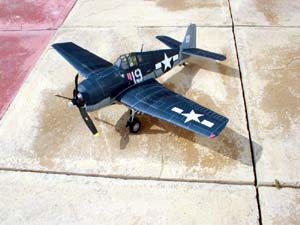
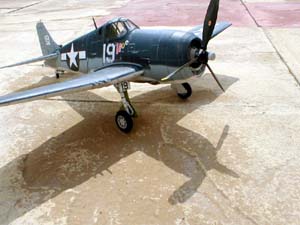
Now where's the Arsenal Mustang�Saul do they make wheels for that?
