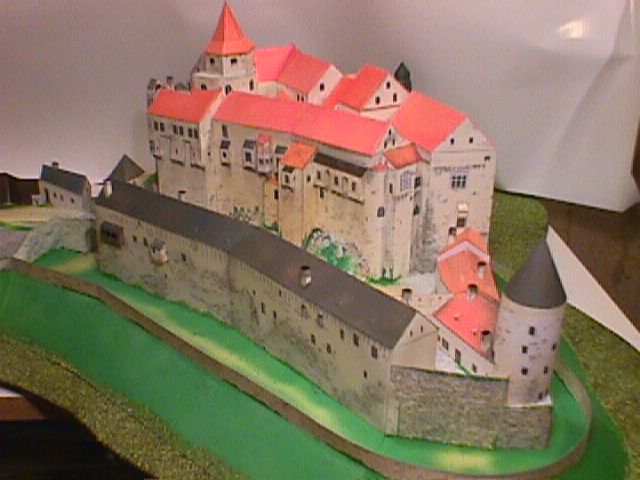
For those of you who read part one in the September issue of Card Models Online, it may come as a bit of a surprise that I have now completed Pernstjn. If you have visited Roger Pattendens site (http://home.clara.net/rogerpattenden/html/model_exhibition.html) you will see that it has been seen and hopefully admired by a large number of people who have never seen card models before.
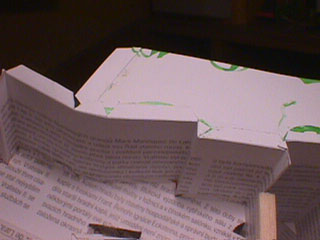 The problems mentioned in the first part continued in this second half. The fold lines still represent a guessing game and the "upside down" construction technique makes life interesting. This problem creates the first variation in the plans,,,,,leave all the tops of the towers till the end! I have included one picture of the under side, which will give a bit of an idea of the construction technique with all the tabs glued under the courtyards.
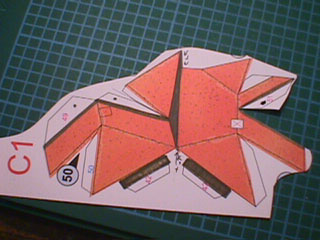
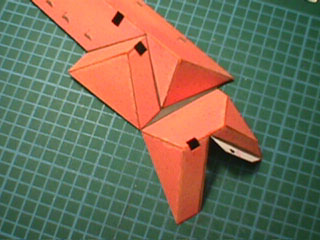
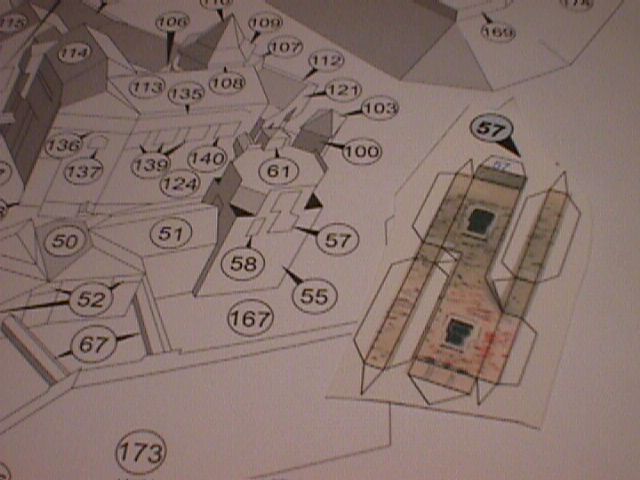
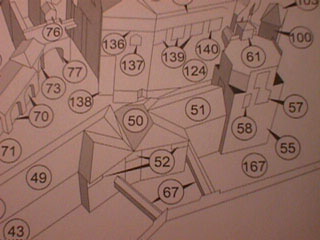 As an example of the folding problem and the diagrams, I have also included pictures of a few unfolded pieces and tried to include the " best" view of the instructions above. First shows the unfolded roof part 50. The dots and squiggles are my interpretation of valley folds. Second shows the completed roof with part 49 and left shows the instructions. I have included a final picture on this topic below. If you look closely at the instructions you will notice only an outline of the shape.
As I mentioned in the first part, the fit and graphics are very good, but despite all the irritations, the kit builds into a fine building. The first part included pictures of the build up to the out buildings. The second half is the main castle and at times it becomes a little unwieldy, juggling the main buildings and trying to glue the ground parts to the walls. It gets even more interesting when it comes to attaching the out buildings to the castle. The easiest way is to imagine trying to glue the head of a string puppet to the body and at the same time trying to keep the legs together. Oh !! the puppet is over 2 feet tall and 18 inches wide. The only remedy is to make a sturdy base, and quickly!
One last note on the instructions. The last instruction indicates that now is the time to add the minute supports for the balconies and protruding windows. Cutting out about 180 small pieces at one go seems to be a recipe for a short cut to a quiet padded cell. Finding the fine red lines that indicate the position for the supports will accelerate the process. Luckily I read the end of the instructions before I started. Unlike a good detective novel, this did not spoil the plot, rather, it gave me the opportunity to add the supports as I went along. This meant making a few at a time and also made it easier to fit the small bits. There is nothing in the instructions that tells you, but there are quite a few supports left over at the end. I know I put supports in all the right places but it reminded me of the times I fiddled with my cars and always had at least on piece on the garage floor when I had finished.
Sorry Mr. Betexa for such a poor report on your latest kit, but anyone who starts it will really have to like the subject and be prepared for many frustrations. All I can say in defense of this kit is that the parts fit is "spot on" and the completed building is most attractive and is a worthy addition to my overflowing collection of castles. It is also another incentive for me to visit the Czech Republic and see some of the most picturesque castles in Europe. Below is a picture that shows the completed model.