
Bismarck - Part Two - The Superstructure.
Editors note: This review will be in at least three parts due to the size of the model.
Photos by the reviewer
At the beginning of this review, I thought that this part of construction was going to be the most difficult, and (so far) I was right. Some of the problems are of my own making, but some are fundamental to the method of construction.
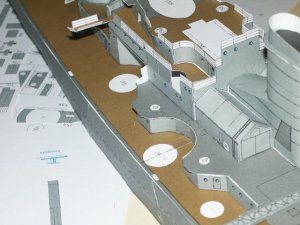
The problems that I managed to build into the superstructure are due to the fact that the model can be constructed as the Tirpitz, as well as the Bismarck. In fact the way the parts are laid out and numbered, the model was designed to end up as the Tirpitz, with the Bismarck option added on seemingly as an afterthought. I say this because the part number sequence follows for the Tirpitz, with out of sequence numbers for the Bismarck ( the Bismarck part numbers are prefixed by 10 ). If you look at the printing of the parts, you can see a distinct difference in the quality, leading to the conclusion that the Bismarck option was added at a later date. The locations for the superstructure bulkheads are marked with Tirpitz numbers, and this is where I made several fundamental errors, I used the Tirpitz parts instead of the correct ones. At the main deck, and shelter deck levels this is not too much of a problem, as the difference seems to be mainly that some of the portholes are fitted with deadlights, some not. The major problems come with the next decks, and if you use the wrong parts you will end up with a peculiar hybrid.
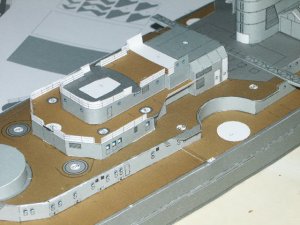
If I were making this model again, I would ensure that I removed ALL the incorrect parts for the build version, so that it would be impossible to use the wrong parts. The parts are not easily laid out to separate easily, but must be done to prevent mistakes.
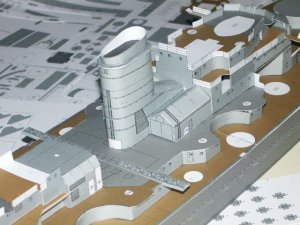
The actual deck parts lead to problems around the 5.9" gun turrets, these have rounded cut outs in the bulkheads. The rounded portions have no location tabs, and the circular portion of the bulkhead has no definition other than a butt joint at top and bottom. Again, if I were making this model again, I would make templates, to ensure that the rounded portions stay round, and remove the chance of gaps appearing at top and bottom of the cut outs.
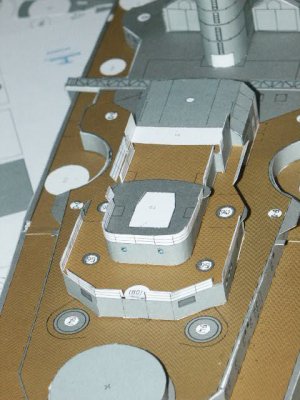
The funnel is a difficult part to make, if you make a mistake, then the forward angled trunking will not fit, and the whole assembly can take up a distinct angled appearance, which you can only partly hide by the addition of the aircraft hangars on either side. The lack of a diagram is particularly a problem in this area. The general fit seems to be a little suspect in areas, and the non-appearance of location tabs in areas where there is a need, and plenty of space can be a little annoying.
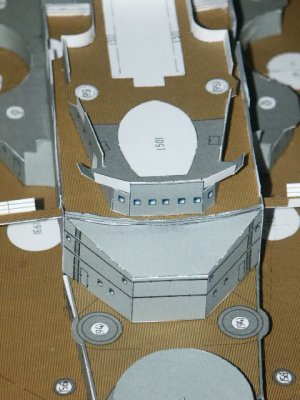
Finally in this section, a pet hate that appears all over the model - printed railings! The sheets are printed ( at great expense no doubt!) in accurate colours - then railings on the boat deck, admirals deck etc. are printed in black on a white background! The finished model will show white bands wherever there are railings. It doesn't look good, and it would be better to miss them out entirely - but most of the location tabs on the superstructure are composed of railings! If this was not a review model, I would remove all of them, ideally to be replaced by photo-etch (expense). Leaving them off would be acceptable, lets face it, on photographs the railings hardly show at all, apart from extreme close-ups.
The final part of construction is the armament, and all the associated fire control equipment, not to mention the masts and aircraft handling gear.
This model is available at H&B Precision Card Models (Peter Heesch)H&B; Precision Card Models
