

The Model:
This is fist in a series of articles showing the building sequence of the Halinski PzKw V Panther. I am not what you would call a fast builder so the series will span several months and the progress of the model will be presented every month.
The model is the newest release by Halinski in the Military Model series and it is in my opinion the best armor model Halinski has published, considering the overall high quality of the Halinski armor models this is high praise indeed.
Marian Sobel is the artist/designer of the model and Mr. Sobel has also the designed the Tiger I and the PzKpfw II in this series. It is interesting to see Mr. Sobel develop his designing techniques with the release of each of his models.
Construction:
Before we start cutting paper we will need several sheets of 1 mm and .5 mm thick card stock. In the past I have purchased 3 and 5 ply card stock from local paper suppliers with mixed results, the card stock had a tendency to split apart when you make small parts. With this model I decided to make the backing card stock by laminating several sheets of 110 lb. card stock using 3M 77 spray glue. The 3M glue is contact cement and being a solvent based glue it does not cause the paper to warp. Two sheets of the 110 lb. card stock were used make the .5 mm stock and 4 sheets to make the 1 mm card stock.
This model has over 3000 parts so to keep from loosing parts I cut out parts numbered 1 to 100 and sorted them in to numbered envelops. I usually sort the parts by 10's and mark the envelopes 1-9, 10-19, 20-29. I did not cut all the parts out because we would end up with over 30 envelopes. I find that cutting out and sorting the parts saves time in that you don't end up looking through 20 pagers trying to find one small part.
Hull/Body:
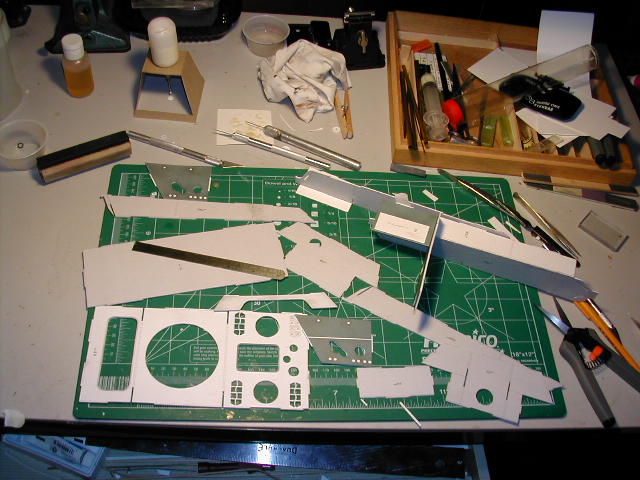
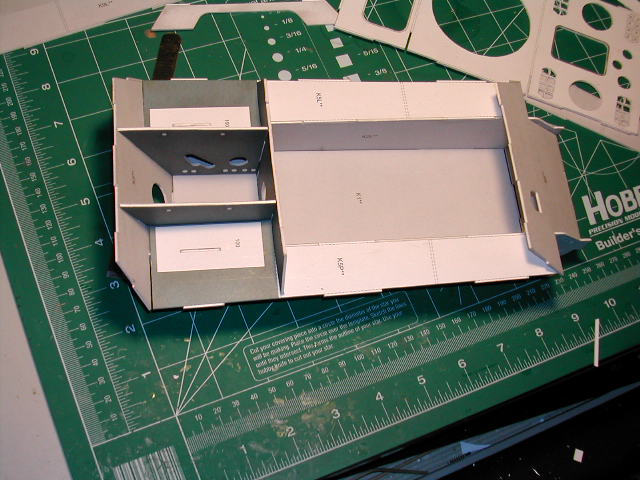
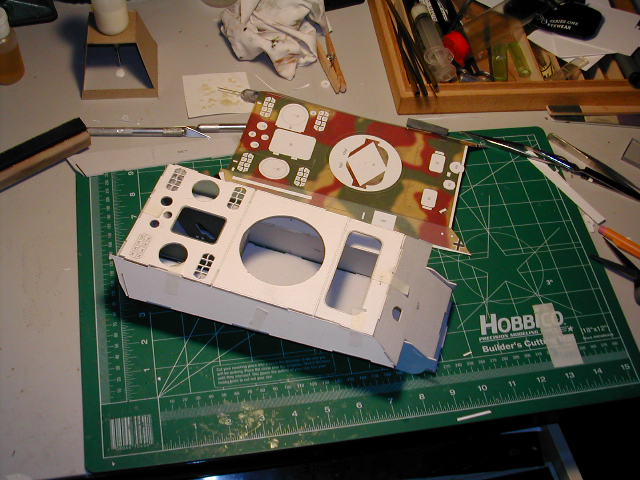
The first stage is to build the hull of the model. All of the hull parts are Laminated on to 1 mm stock and cut out. The hull assembles fit together with a series of tabs for alignment. I recommend that you dry fit all of the hull parts and trim the tabs and bevel edges as required insuring a good fit and alignment of the hull.

I also cut out the top deck skin and fitted it to the hull to check and see if additional trimming is required. From the close up you can see that the hull needs to be trimmed about .5 mm so that the skin will fit.
Now that we are satisfied with how the hull fits together we will start gluing the hull together. The upper sides and the glacis plate will not be glued until we fit the interior parts in to the hull so that we will have more room to assemble the interior parts.
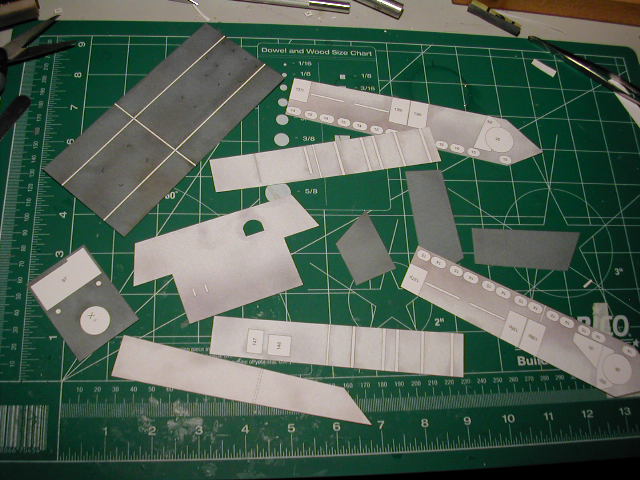 The next step is to cut out all the interior skins and glue the skins to the interior of the hull. In the photo you can see some of the weathering on the interior parts.
 Now we start rolling tubes, about 68 of them, to make the torsion bars for the suspension system.
Next month:
we will be working on the interior assemblies and engine for the next issue.
Summary:
| Model: | PzKpfw V Panther 1-2/2002 |
| Kit: | Halinski |
| Designers: | Marian Sobel | Scale: | 1/25 |
| Difficulty: | Very complex, very difficult |
| Number of Parts: | Over 3000 |
| Instructions: | Polish, German and English |
| Diagrams: | 4 pages generally good |
| Fit: | Excellent |
| Coloring and Artwork: | Outstanding |
| Printing: | Excellent |
| Resources: | http://www.achtungpanzer.com/pz4.htm#panther
http://www.kithobbyist.com/AFVInteriors/pan/pan.html http://www.militarygameronline.com/Panzer/panther.html |
